Showing posts with label Project 2016. Show all posts

Saturday, 12 November 2016

Project 2016 - 2. Gebirgsjäger Division - Complited!

Hi all!

It has been a long year, and even there are some left of it, but I've finally finished this years project that I revealed about a year ago. To paint my first themed army and that be the 2. Gebirgsjäger Division from Gebirgsjägers in the West PDF, and later from the Ardennes Offensive book.

The primary goal was to make 1420 points worth of units and after that was done the secondary goal was to make it to 1900 points. Well now I can say that I'm there!

Final platoon to be finished was the Luftwaffe Heavy Anti-aircraft Gun platoon with two 8,8cm FlaK 36 guns, extra crews and trucks.


What can I say, it has been fun and challenging. I've tried new things like water effects and color modulation. I've painted a lot of guns and very much infantry, of which I normally don't like doing, and some vehicles. The variation on the infantry has been great and as I've had some spare figures from older boxes, it has made a nice impact on the units where I've mixed figures. Overall the Gebirgsjäger figures look fantastic, all the poses and gears have given me and extremely nice and easy task to adapt guys to different platoons.are just great!

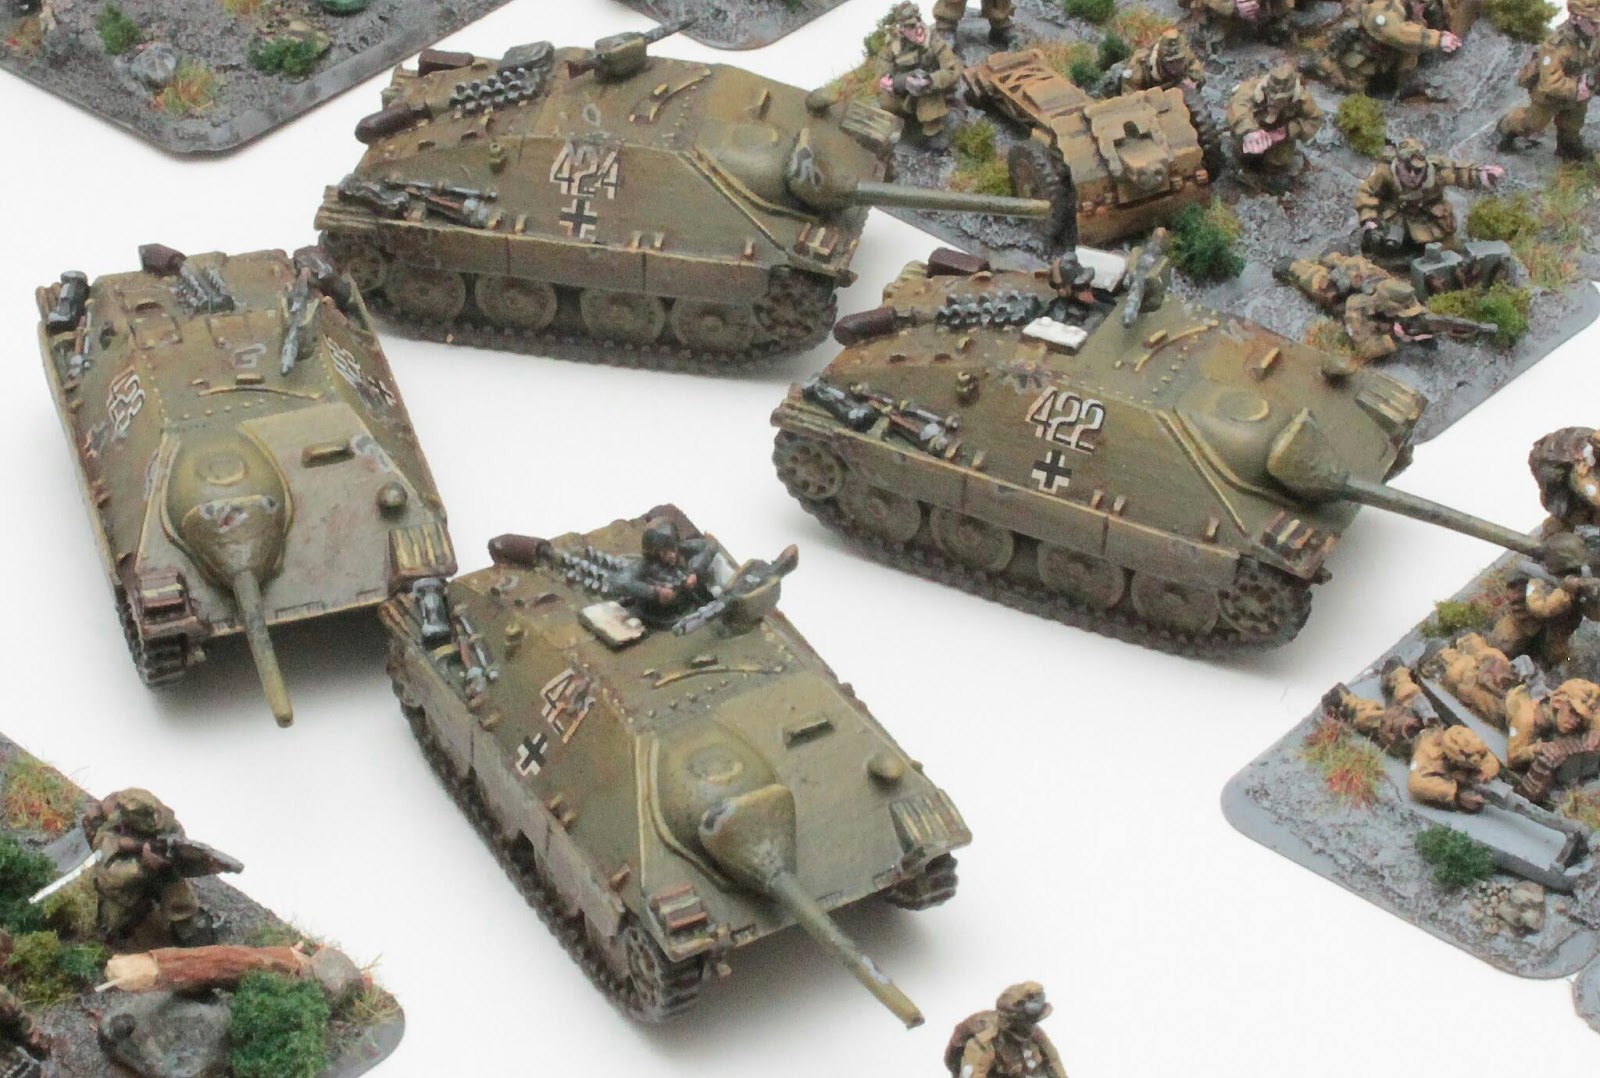
And what is even more fun, is that this army can be used in Mid War too, just replace the panzerschrecks with anti-tank rifles and add light mortar teams. Both of wich did came with the Gebirgsjäger company box! Oh and I might need to swap the Hetzers to, say, Marder IIs and Panzer IIIs.

But anyway, enough talking! Lets reveal 1900 points of Gebirgsjägers to you!


Big thank you to everyone who has followed this project, commented or liked! And BIG thank you to everyone who has helped me to learn new things, methods of painting, basing and preparing the units. And who has had some insight or information on regarding gebirgsjägers or 2. Gebirgsjäger Division specifically. I know this isn't so closely painted as the equipment should be but lets call it artistic licence to modify things.

Thank you and well be seeing with the next project.

Sunday, 18 September 2016

Project 2016 - 2.Gebirgsjäger Division

Hello.
Today I bring you the pictures of the 1420 points army from the 2.Gebirgsjäger Division. There are also two platoons (Gebirgsjäger Scout platoon &  Gebirgsjägerpionier platoon) which are intended to be used in larger battles.

I hope you like them.

The 1420 points Gebirgsjägerkompanie
 
HQ
 
1. Gebirgsjäger platoon 
 
2. Gebirgsjäger platoon 
 
Gebirgsjäger 7,5cm leIG platoon

Gebirgsjäger Tank-hunter platoon
 
Gebirgsjäger HMG platoon 
 
15cm NW41 Volks Rocket Launcher Battery 
 
Gebirgsjäger Anti-tank Gun platoon 
 
Gebirgsjäger Scout platoon
 
Gebirgsjägerpionier platoon
 
Kfz 15 for Luftwaffe Heavy Anti-aircraft Gun platoon
 
Kubelwagen for Volks Rocket Launcher Battery

Monday, 12 September 2016

PAINTING TUTORIAL: Luftwaffe Heavy Anti-aircraft gun command

Hello all!

Sorry for being absent from the blog side for so long but I've been rather busy with normal life (work, family etc.) and painting up the Project 2016 and it has been quicker to just post to Facebook about the progress.

As a plus side, I've managed to finish the initial goal of Project 2016, the 1420 points, and have started the upgrade process to get my force fieldable at up to 1900 points. These updates include: full Gebirgsjägerpionier platoon with Supply Truck, Gebirgsjäger Scout platoon and Luftwaffe Heavy Anti-aircraft platoon.


Project 2016 - 2. Gebirgsjäger Division - 1420 points

Pictures of the finished platoons to follow in a separate post in near future!

In the mean time, as I've started my work on the Luftwaffe Heavy Anti-aircraft platoon, I've been asked how I've done the command team for the platoon. So here I'll try to answer the request as best as I can in words (I wasn't prepared to do a painting tutorial) as there isn't that many pictures of the command team in WIP state. I'll divide this tutorial into two parts, part one which is dedicated on painting the figures and the part two which will tackle one the building and painting the base.

So here we go, part one, painting the figures.

I've cut the painting process down to color sections, ie. grey tones, brown tones etc. as this is the way I normally work myself, one tone at a time. It helps to keep the pallet clear and you don't have to clean your brush after every little layer. And as the layers are very thin, they will dry almost instantly. I've also cut this tutorial into painting and basing stages.


For all the painting work on this mini I used Citadels Detail Brush. Paints are from Vallejo except Nuln Oil, Dwarf Flesh and Baal Red.
 
Every model that I paint, I first undercoat with Black though nowdays I've started to use Black Grey as the lighter tone helps (in my eyes) the details pop out so they are easier to work. I do mix a drop or two water into my paints to make them flow more evenly, and also to make them last a bit longer on the pallet.


We shall start with the helmets and greyish clothes which are all done with Black Grey, Light Grey, Russian Uniform Green and Nuln Oil, working from a darkish mix of Black Grey, Light Grey and Russian Uniform Green to just pure Light Grey as a final highlight after which everything was washed with Nuln Oil. The starting ratio was 1:4:2, the green is there to break the grey tone and to bring it closer to earthly tones and the tones that the Germans had in their uniforms. From the starting point, I added 1 or 2 drops of Light Grey and Russian Uniform Green to every layer I did.

Next up is the COs jacket which is done with Black Grey, Khaki and Offwhite from a starting mix of 1:8 ratio of Black Grey and Khaki up to a final highlight of 1:3 ratio of Khaki and Offwhite. For every layer from the base up until pure Khaki, I added 2 drops of Khaki to the previous mix. After that only one tiny drop of Offwhite was added to lighten the previous mix.


With both of the above colors I tried to think where the light would hit and use the highlight there. My startpoint for the highlights was zenithal light so I worked from there but you may chose your own lightspot.

Side note: I found it harder to highlight grey tones than black tones. What I've hear, people say painting black is hard but I found it relatively easy. There must be something wrong with me!


Anyway, moving on!


The leather parts were done with Chocholate Brown as base followed by a single coat of Beige Brown leaving some darker brown visible in the recessess the I gave them a Nuln Oil wash. To finalize, I used again pure Beige Brown leaving some of the previous layers visible and a 1:3 mix of Beige Brown and Offwhite to give the last pop.

Tornister was done with pure Green Ochre as base followed by Nuln Oil wash. I then reapplied the pure Green Ochre to raised areas and then highlighted with a 1:3 mix of Green Ochre and Offwhite. Here I didn't go as much into playing with light as with the clothes but there is a little darker area at the bottom.

Cantine was done the same way as tornister except the basecolor was Russian Uniform Green instead of Green Ochre. Even the rations in color were the same.

Binoculars and the MP40 were just pure Light Grey followed by Nuln Oil wash and highlighted with Light Grey again.

For flesh I used Citadels Dwarf Flesh as base which I shaded with Nuln Oil and then highlighted the nose, cheeks, brow and chin with pure Dwarf Flesh.


Finished figures

Now as the figures are all set and done it's time to do the base. We'll start by building the fence as it will be embedded little bit into the ground. This has two uses, first it creates second way to secure the fence on the base but also there isn't any fence that stands right on top of ground.

Planning the bases for the platoon

To do the fence I took some toothpicks and first cut them to two lengths, shorter would be the straight posts and the longer ones would be the angled parts. I then went ahead and cut every single piece into two halves. Fence posts would be created from two short half-cuts and angled parts from one longer half-cut each. Everything was glued with superglue but PVA works just as well, it just takes a bit longer to dry.

Once the glue had dried I painted the fence, first with a complite layer of Chocholate Brown and then by drybrushing. First a 1:3 mix of Black Grey and Light Grey, then Light Grey and finally some Offwhite to the very tops.

When this was done I carefully added the "earth", for this I used Vallejo Dark Earth pumice. It's just easier to highlight darker grey than first paint some other color to dark grey and then highlight. As the space is thight, a toothpick is suggested and do use water to make the pumice rune easier.

After a 24 hours drytime, I again broke out the Light Grey and highlighted the "earth". After next phase this seems a bit silly but in the end it actually is visible layer. So, after this highlight, I mixed 3 drops Beige Brown and 1 drop Chokolate Brown and added a lot of water to make my own brown wash which I then applied on the "earth". I then again highlighted with Light Grey to bring the "earth" to its finish.

Now the finishing touches begin and we start with the rocks. What I've liked to use is Citadels Sand, I just block some larger bits out to act as larger rocks (the scale is just perfect) and glue them on with PVA. I do add smaller bebbles to act as gravel. Once the glue is dry, I wash every stone with Nuln Oil. I then pick individual stones with Hull Red or Khaki. I try to keep this random. I then go on and add lighter shades as highlights. The red stones are finally washed with Citadels Baal Red to make them even more reddish.

Then it's all about the vegetation. For grass I use Citadels Scorched Grass and other plants are done with  GF9s Summer 3 Colour Clump Foliage. Naturally you could use something else and that's all up to you and on which season you've chosen.

All done and ready

So now we've finished our command team for the Luftwaffe Heavy Anti-aircraft Gun platoon. I hope this has helped you in your own quest of painting and modelling.

Thank you for reading!

Monday, 14 March 2016

Project 2016, 2. Gebirgsjäger Division, Gebirgsjägerkompanie

Hi there!

Some of you might already have spied on my FB page and/or Instagram feed and noticed the Project 2016 and seen what it's all about. Well today I'm going to talk about it here took.

The Project 2016 is about building a themed army, my first actually, and fullfilling my all time love for one force: Gebirgsjägers. The brave men that trained to fight in the mountains.

Lets talk about what got me into building a themed army. First of as Battlefront changed their points limit for Late War tournament scene, I went to think about all the different forces I had used before, Panzergrenadiers, Schwere Panzers, Panzers and so on. The one force I haven't properly tried was foot-slogging infantry without trucks or half-tracks.
The history of Gebirgsjägers is also full of details, fought in Finland (yes, there were actually several Gebirgsjäger Divisions fighting in the Finnish Lapland) and Caucasus mountains, and all Gebirgsjägers can draw their heritage to Austria, a place close to my heart.

So there are many reasons for me why I should build this army.
But why a Late War army and not Mid War as the ETC is Mid War themed this year? Well mostly because the local meta is Late War and because in Late War you get to field all sorts of great tools, and I like the thought that I can upgrade this force very quickly to 1750 or more with, lets say, Jagdpanthers. Also there is an OOB directly available for one unit that fought in Finland, 2. Gebirgsjäger Division, found in Gebirgsjägers in the West PDF.

About the force that I'm working. I tried to make it as balanced as I could, taking template weapons, a mobile unit, anti-infantry power and a lot of anti-tank power with all the panzerfausts and panzerschrecks. It's not propably going to win many tournaments but it will win games and it will give some headache to any opponent who faces it. I'm not going to go into details here of why I picked a certain platoon as everyone of you whole play Flames of War can propably already see the use for every platoon.


What has been done so far? I have bulk of the army already at home, some of it painted, some of it not. Few platoons are yet to come but all of them have been ordered and I'm confident that Battlefront can deliver the rest of thd force soon. And as the title says this is a project for 2016 so I still have many months to complite this.

For the end I'll let you all see the platoons that have been painted and that have just been assembled. Thank you for reading and as always comments are welcom